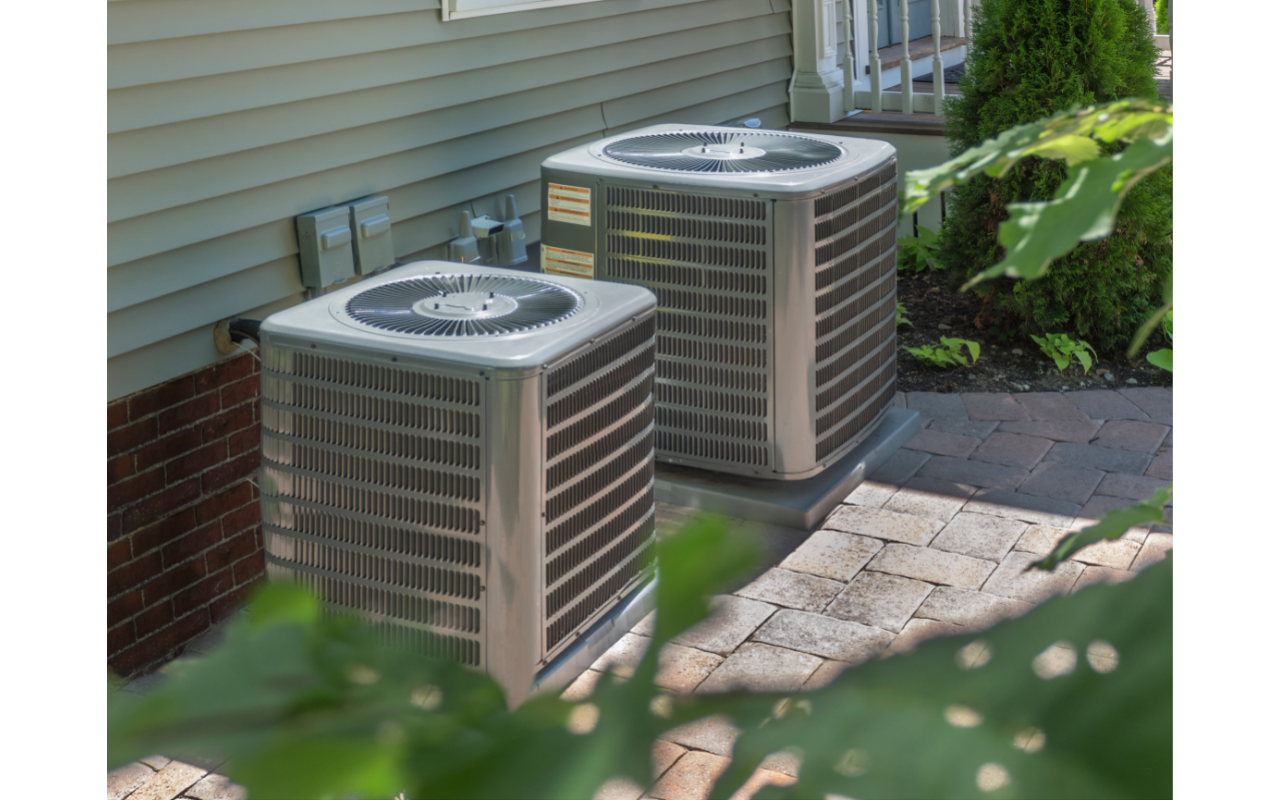
Have you noticed a strange moldy odor in your home recently but haven’t been able to figure out what its source is? If you have, the answer may be that it’s coming from your air conditioner.
As unlikely and strange as it may seem, mold tends to grow inside ACs that aren’t in use. It accumulates during the winter and early spring and then makes your air moldy during the summers.
All of this sounds bad, we know. However, there is no need to panic. In fact, you can solve this problem rather quickly without having to replace your AC. Read on to find out your steps to quick mold remediation.
Make Sure the AC Is the Problem
Firstly, you need to ensure the mold and unpleasant smell are indeed coming from the air conditioner. Try to stand as close to the unit as you can, and you will be able to tell if the AC is the problem immediately based on the strength of the smell.
If you think the AC is causing the odor, turning it off should be your next move. That will ensure no more mold gets into the air and causes respiratory issues for your family.
Cleaning Your AC from Mold: A Step-by-Step Guide
1. Inspect the Damage
Your next step in the mold remediation process is opening the grille cover. Most covers snap off, but some require a screwdriver. Once the AC cover is off, take a flashlight and look around the unit.
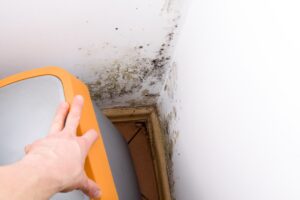
Mold will be easy to recognize. It takes the form of greenish, brown, or black stains that will cover the inside of the AC. If there are just a few streaks of mold and it is mainly on the inner walls, you can proceed with cleaning.
However, if the mold covers more than one-third of the unit’s inside, it might be best to contact a professional. In such cases, they will be the only ones with the equipment and knowledge necessary to remove the mold.
2. Cleaning Time
Depending on the amount of mold, you will probably have to dismantle your AC to clean it properly. Use your owner’s manual to ensure you do everything correctly.
Vacuum any dust or debris inside the unit. You can use a nozzle attachment to make this step easier. Then, spray the coils with any coil cleaner you can buy, and let it dissolve any dirt from these spots. After the amount of time specified on the cleaner bottle passes, use a garden hose to remove the cleaner from the coils.
Finally, fill up a bucket with a few gallons of water, and add half a cup of bleach to it. Use a sponge and carefully wipe the insides of the AC. The household bleach will ensure there are no mold spores left. Remember to always use gloves and protective goggles to protect yourself as you clean.
3. Let It Dry
Let your AC dry completely before you put it back together again. In most cases, it will take around 24 hours.
Need Help with Mold in House?
Sometimes, it is best to leave the hard stuff to the pros. If you think your home has mold in it and you want to fix it, give Mold Solutions a call.